Setting up Dreamwidth on Linode
These instructions will help you set up Dreamwidth on Linode hosting, brought to you by ![]() exor74.
exor74.
Contents
Ordering
Newark is the best choice for a node location for 2 reasons:
- Guaranteed 64-bit host
- Fast internal-network disk image fetch from
![[info]](http://wiki.dreamwidth.net/wiki/extensions/LJ/images//userinfo.gif) exor674
exor674
Setting up a Linux Deployment
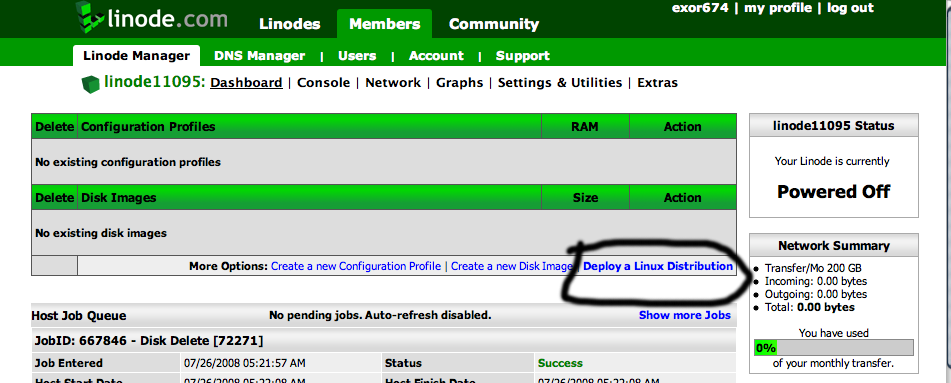
Click on "Deploy a Linux Distribution":
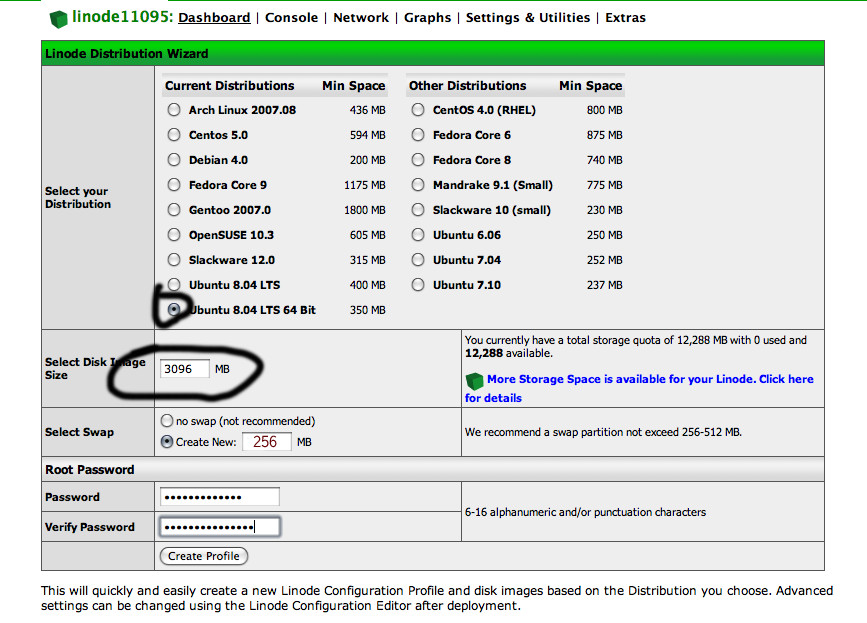
This will bring you to the Linode Distribution Wizard.
- Click on "Ubuntu 8.04 LTS 64 Bit"
- Enter "3096" as the disk image size
- Enter "256" Swap
- Enter password, and hit "Create Profile"
Wait for it to complete, and then hit "Create new disk image".
- Label: "Dreamwidth Image"
- Size: "1024"
- Filesystem Type: "ext3"
- Hit "Create Disk"
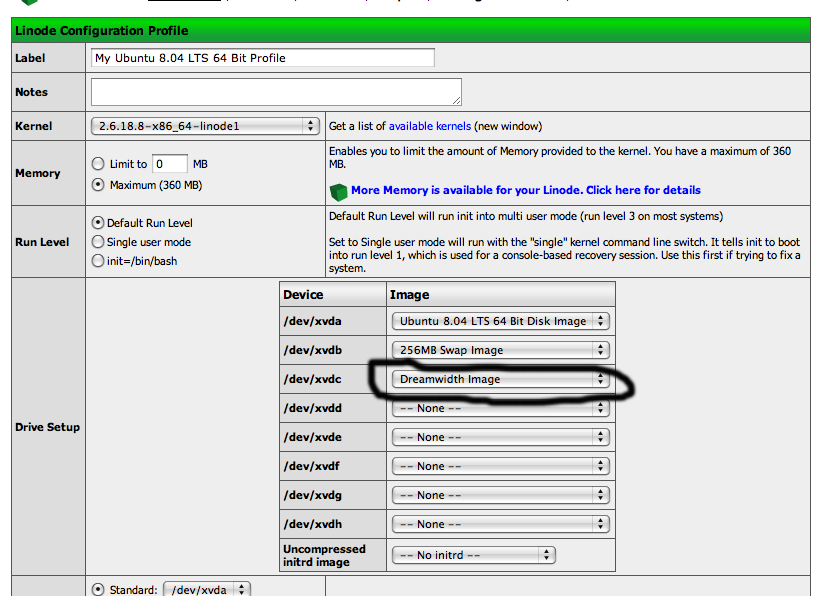
- Click on "Ubuntu 8.04 LTS 64 Bit Profile"
- Set /dev/xvdc to "Dreamwidth Image", and hit "Save Profile"
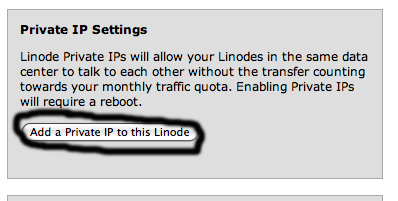
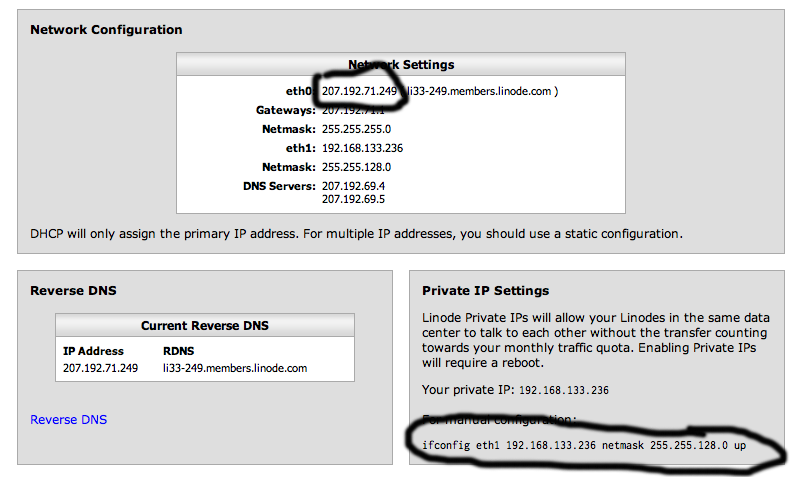
Go to the "Network" tab, and click on "Add Private IP".
And take note of the text after "eth0"--this is your node's public IP--and the text under "for manual configuration"--your private network IP.
Getting into the node
Go back to the "Dashboard" tab, hit "Boot", and wait for the task to complete. Open your SSH client and SSH to root@noted eth0 address, and enter your root password:
Get the Dreamwidth image
Install wget:
apt-get install wget
If you are on a Newark node:
noted "for manual configuration" line
wget http://192.168.133.102:6887/Linode-Dreamwidth-Ubuntu.img
If you are *NOT* in Newark:
wget http://ns1.andreanall.com:6887/Linode-Dreamwidth-Ubuntu.img
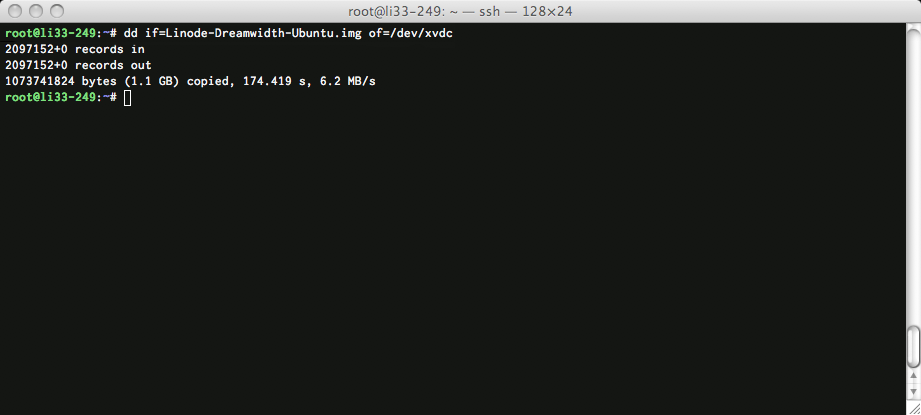
Now you can copy the image to your deployment:
dd if=Linode-Dreamwidth-Ubuntu.img of=/dev/xvdc
This may take a while.
